
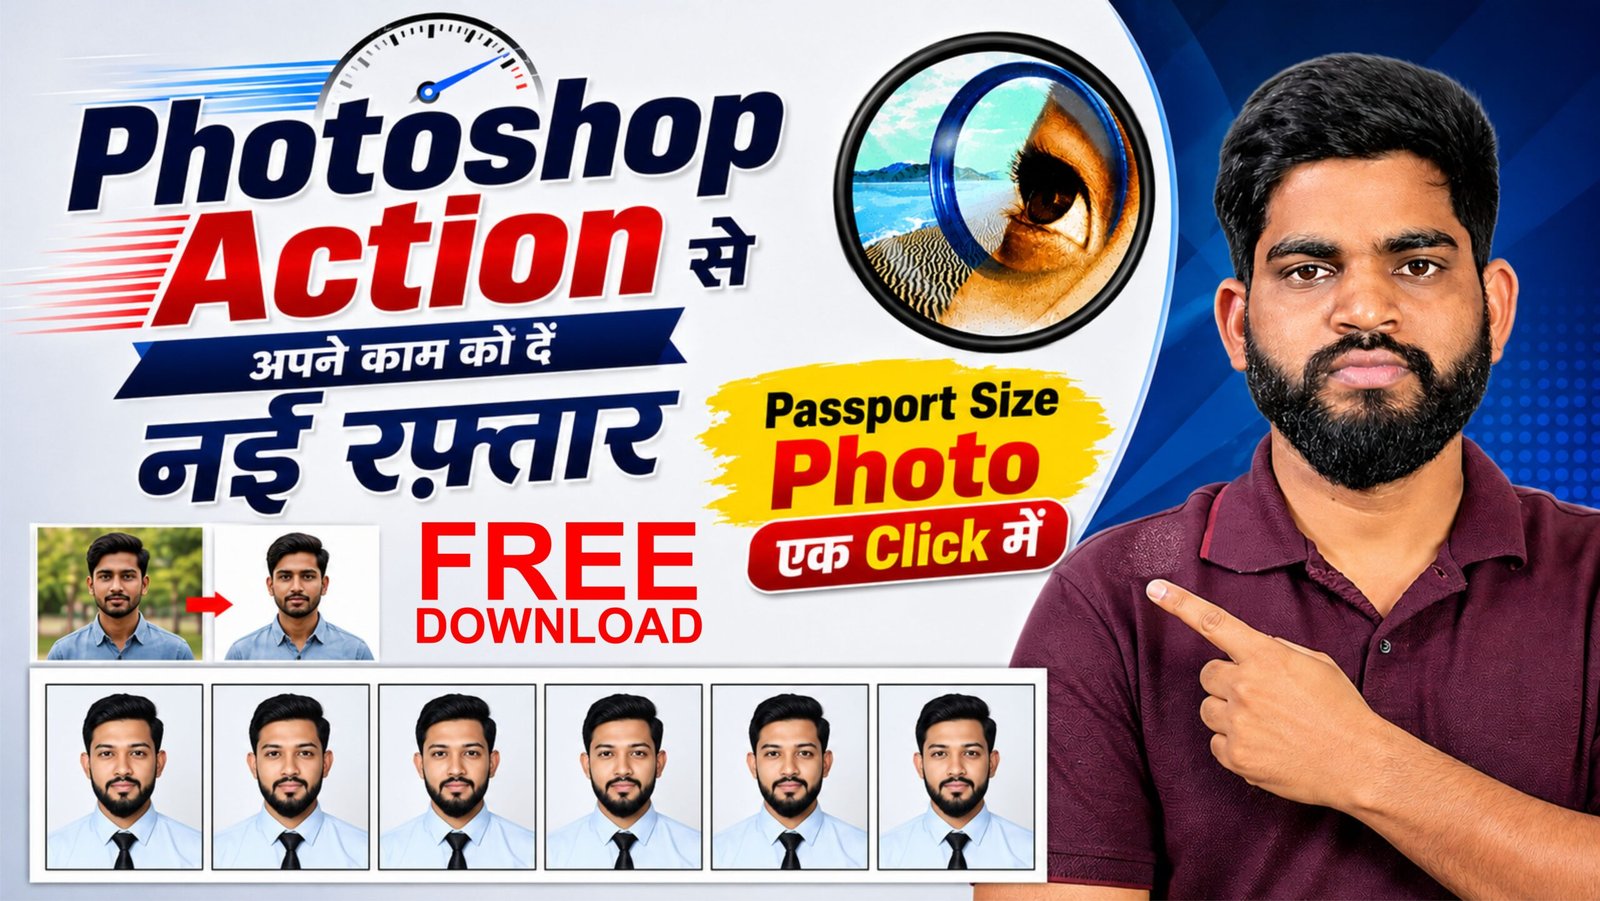
How to Create a Passport Size Photo in Photoshop – Complete Information
Friends, these days, passport-size photos are needed almost everywhere. Whether it’s a school or college form, a job application, an Aadhaar card, PAN card, passport, identity card, or any other government or private document, a passport-size photo is essential. If you work in graphic design or photo printing and editing, learning to create a passport-size photo with the correct size and quality in Photoshop 7.0 is crucial.
So, friends, in this blog, we’ll learn how to create a passport-size photo in Adobe Photoshop 7, with one-click actions.
What’s needed to create a passport-size photo?
Friends, to create a passport-size photo, you must have Adobe Photoshop 7.0 on your computer. Additionally, you must have a good-quality photo. The clearer the photo, the better the final result.
Friends, you can also create a passport-size photo by editing a photo taken on your mobile phone in Photoshop 7.0. But make sure your face is clearly visible in the photo and the image isn’t too blurry.
Step 1 – Open the Photo in Photoshop
First, open Adobe Photoshop on your computer. Then:
Click File → Open and select the photo you want to make passport-sized.
Once the photo opens in Photoshop, first check its background and face position. You can also crop and color correct if needed.
Step 2 – Crop the Photo
Now, use the Crop Tool to bring the photo into the correct proportions.
After selecting the Crop Tool, set the Width and Height options above as needed.
Different sizes may be required for passport photos in various places, so be sure to check the size provided by the organization or organization for which the photo is being made.
In India, smaller portrait sizes are often used for standard passport/ID photos. Therefore, when preparing a photo for any government or official application, prioritize the photo size and resolution requirements of the relevant organization.
Step 3 – Prepare the Photo Background
Friends, the background in a passport-sized photo should be clean and simple. If the background in your original photo is not correct, it can be removed in Photoshop 7.0.
You can use the Remove Background, Quick Selection Tool, Select Subject, or Pen Tool for this.
After removing the background, create a new background layer and apply white, blue, or any other required background color as needed.
Remember that the background color for government documents should always be in accordance with the application’s requirements.
Step 4 – Position the Face and Photo
Now examine the photo carefully. The face should not be too high or low. Maintain a proper balance between the head and shoulders.
Friends, the facial expression in the passport photo should be natural. Avoid excessive beauty filters, face reshaping, or artificial editing. If the photo is for an official document, editing that alters the person’s identity should be avoided.
Step 5 – Set Image Size and Resolution
Now go to Image → Image Size and check the size and resolution of the photo.
For print quality, a resolution of 300 pixels/inch is generally used. However, always keep the final requirement based on the organization or print specification where the photo is to be submitted.
After this, set the width and height as needed and save the photo.
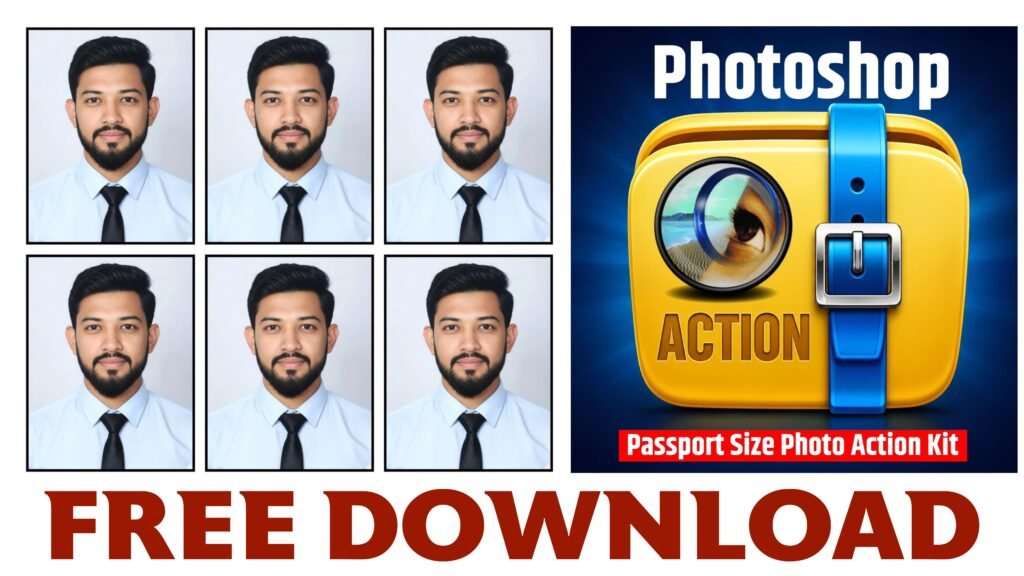
Step 6 – Put Multiple Passport Photos on One Sheet
If you need to print multiple copies of the same photo, you can create a new document in Photoshop 7.0 and put multiple photos on one sheet.
Conclusion-
I hope this action will make your work much easier and you can easily create a professional passport-size photo. When creating a photo, you should pay attention not only to the size, but also to the photo quality, face position, background, resolution, and the requirements of the relevant organization.